Mug DIY
Mug DIY: Bringing Clay to Life
After an insightful guided tour where we admired the diverse collection of kiln-fired artworks, we felt truly inspired to create something of our own. Under the professional guidance of the kiln’s instructors , we hand-crafted our very own mugs.
Throughout the workshop, everyone remained deeply focused, learning from one another and experiencing the unique "dialogue" between our hands and the clay. We were amazed to see how raw earth could be transformed into functional art. The sense of achievement we felt upon finishing our pieces was incredible—it was more than just a mug; it was a connection to a centuries-old tradition.
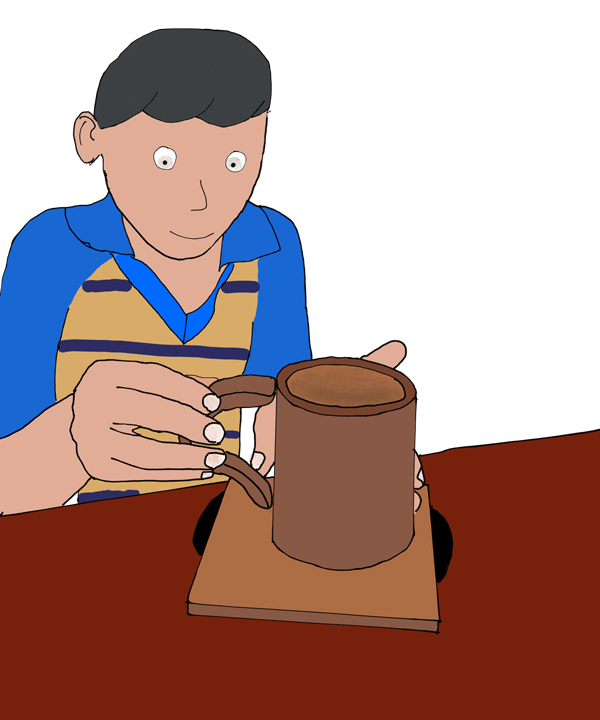
photo by our team
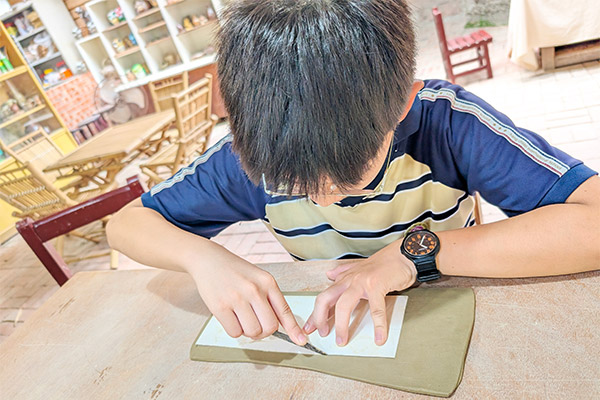
Step 1
Cut the rim of the cup.
photo by our team
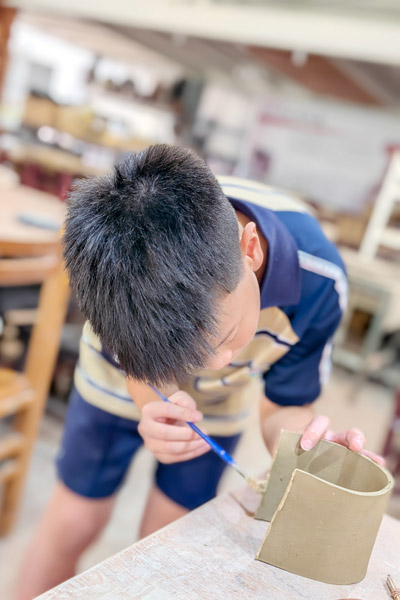
Step 2
Use toothpicks and clay to glue the clay together, repair and adjust.
photo by our team
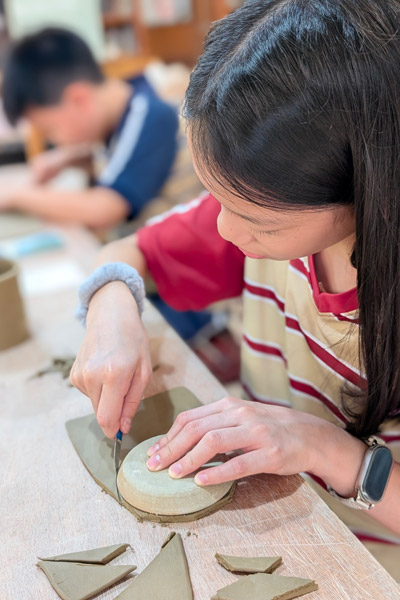
Step 3
Cut out the bottom of the cup.
photo by our team
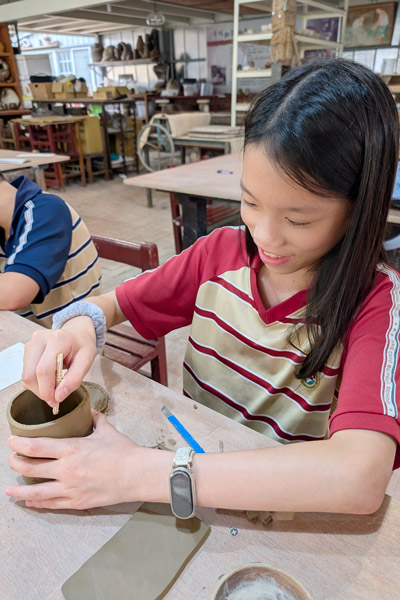
Step 4
Use toothpicks and mud to connect the rim and base of the cup.
photo by our team
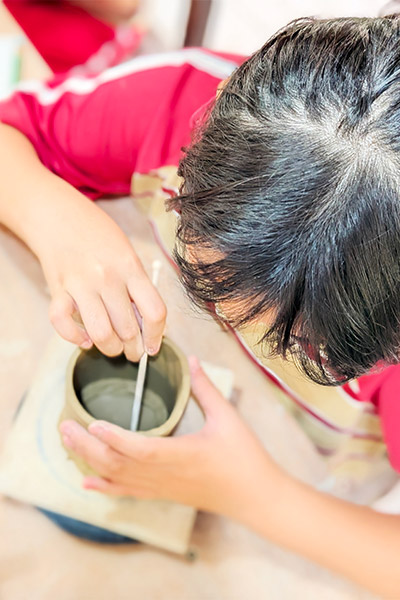
Step 5
Press out the air.
photo by our team
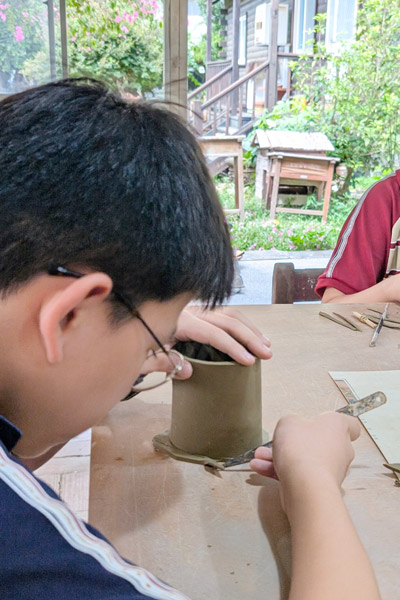
Step 6
Repair.
photo by our team
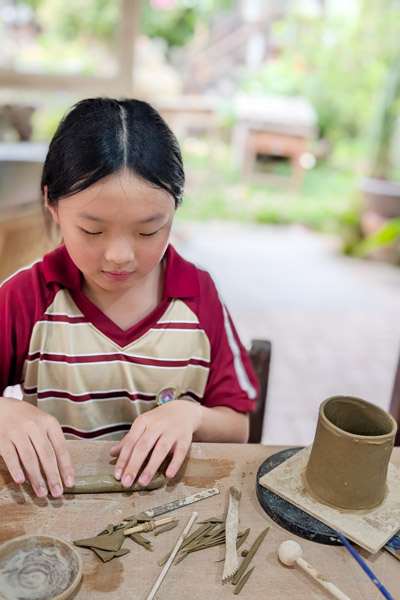
Step 7
Make a grip.
photo by our team
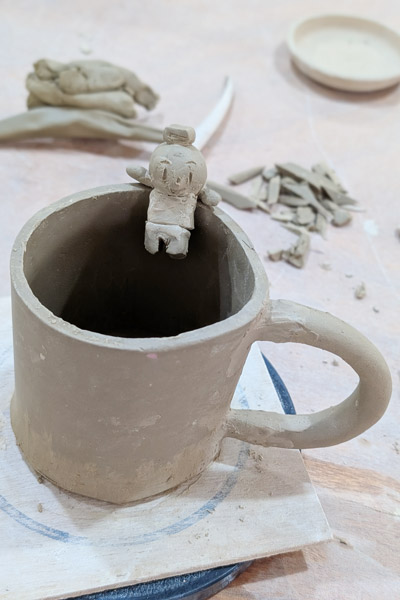
Step 8
Make decoration.
photo by our team
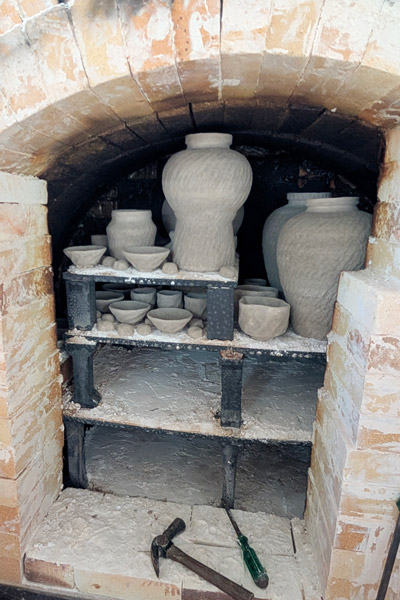
Step 9
Placing the pottery pieces into the wood-fired kiln
photo by our team
Our Beautiful Works:
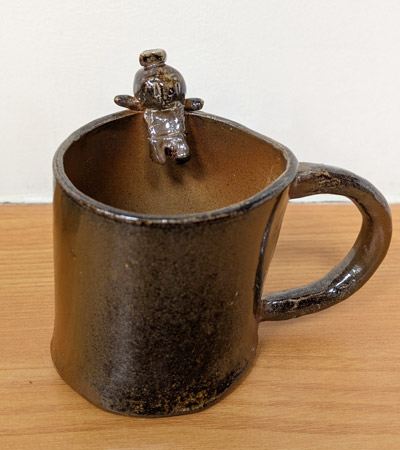
Ethan's Work
photo by our team
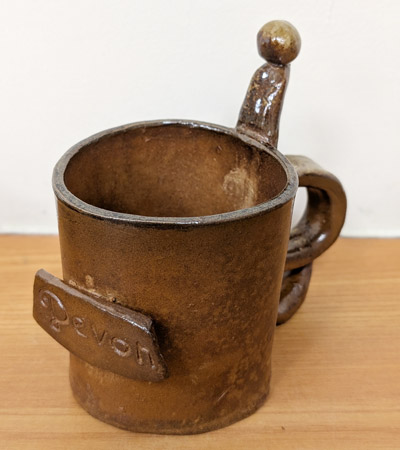
Devon's Work
photo by our team
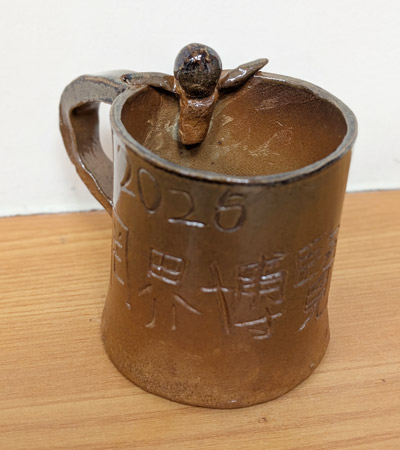
Joanie's Work
photo by our team
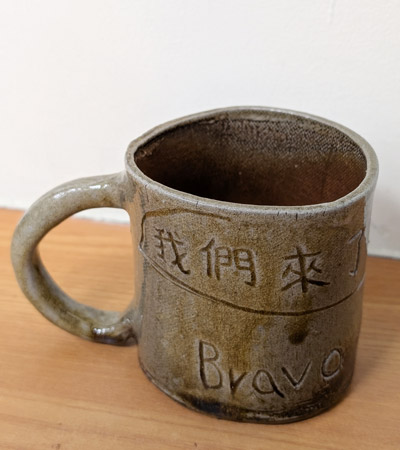
Mila"s Work
photo by our team
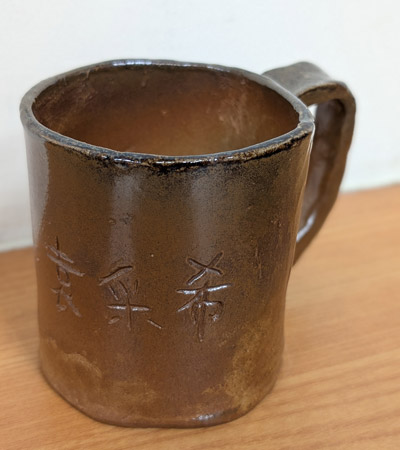
Cathy's Work
photo by our team
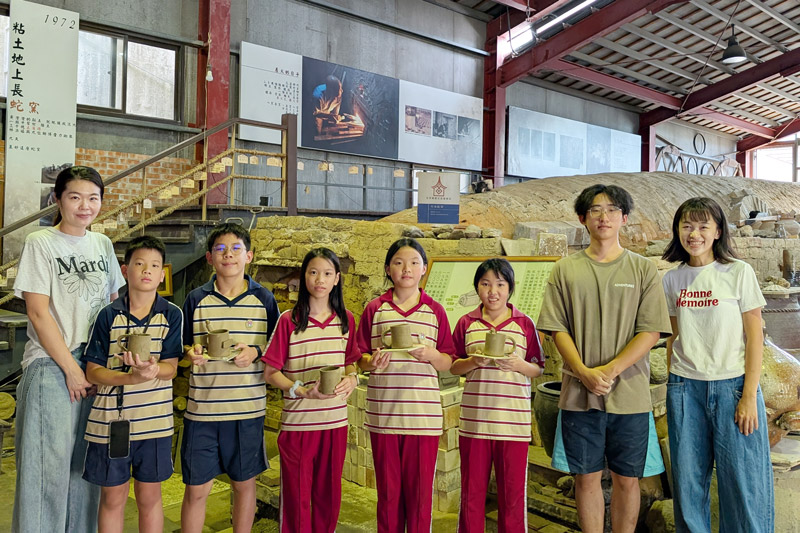
photo by our team
It's finished! A truly unique creation of ours!